The Ninja Foodi cooker is quite popular among people who love to cook for several reasons. Mainly due to its look, feel, and special features. But nothing is perfect and your Ninja Foodi might face a few troubles too. And the pleasant thing is they could be solved by applying some easy solutions.
Unlike many other brands of pressure cookers, this one has some amazing features. But unfortunately, it also has some technical faults. No need to worry too much as solutions are near your hand.
Most problems have solutions until it gets fully damaged. If yours is not yet fully damaged, It is a good thing that you have detected the problem while there’s still time. Hopefully, our article will help you to find out why your food cooker is not working and what you can do to resolve the problem.
Ninja Foodi Troubleshooting
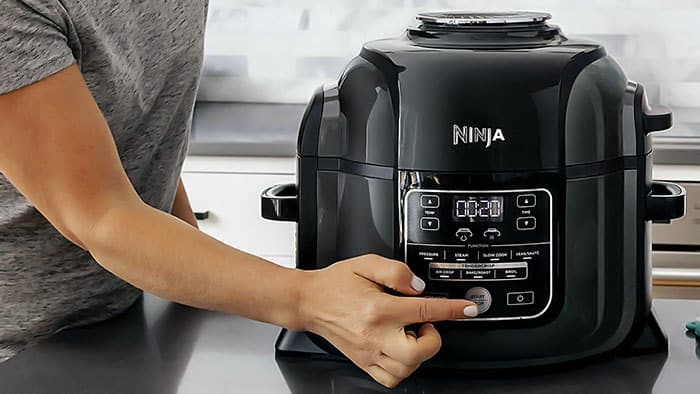
You may find some Ninja food cookers have bad reviews due to a few errors, like valve leaking, poor pressure release, damaged or blocked gasket, fuse error, and others. Let’s discuss this in detail.
If the problem you are facing remains within above possible flaws stated above, you’ll find the solution to this below. If your problem is not related to these, you still should read the facts told here. These things are the first things you should check while facing any pressure cooker trouble.
Gasket error
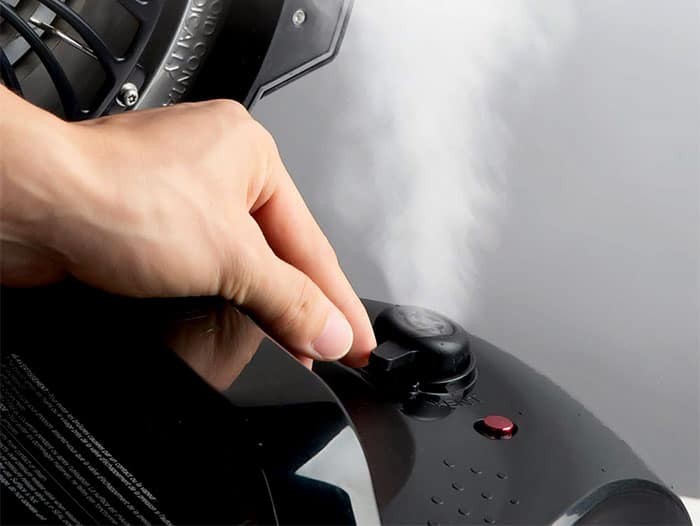
Pressure Cookers’ main problem, according to customer feedback, is steam leaks. A damaged, rusted, dirty Gasket or a displaced gasket are the reasons for not starting the cooker. If the parts have an error, the pressure cooker will not create the pressure needed to cook certain foods.
If the pressure cooker is not working, check the above points. If it is dirty or rusted, clean it. If it is completely damaged, replace it; if it is displaced, replace the parts in their proper location. Hopefully, the cooker will work without any trouble.
Lid Error
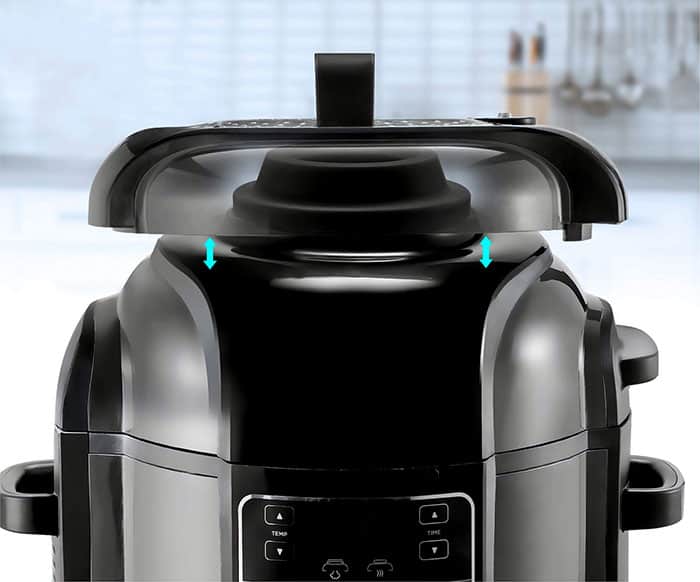
Another major issue for a cooker is lid error. The lid is either stuck inside the cooker or you can’t put the lid on.
To use the lid properly, a cooker cover needs to be pressurized. If the lid can’t come off, remove the valve first. Release the steam from the inside fully. Keep it aside for a while, and move the lead clockwise and anti-clockwise.
If the above process is not working, pour cold water into the cooker. Put the lid on tightly; a loosened lid will never create pressure. Attach the lid properly to be cooked properly.
Sensor error
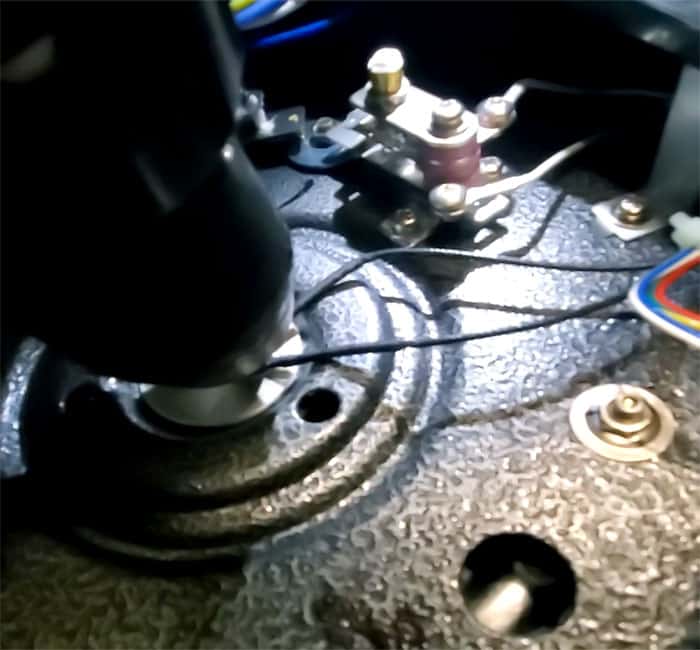
If the ninja foodie cooker is not creating pressure when everything else is fine, it could be caused by the sensors.
If needed, check the sensor to see if it is working or not. If not, change it immediately. Because without the sensor, the pressure cooker will never work.
You should replace it with an official sensor. Do not use any random sensor. It may create a bigger problem.
Rim Error
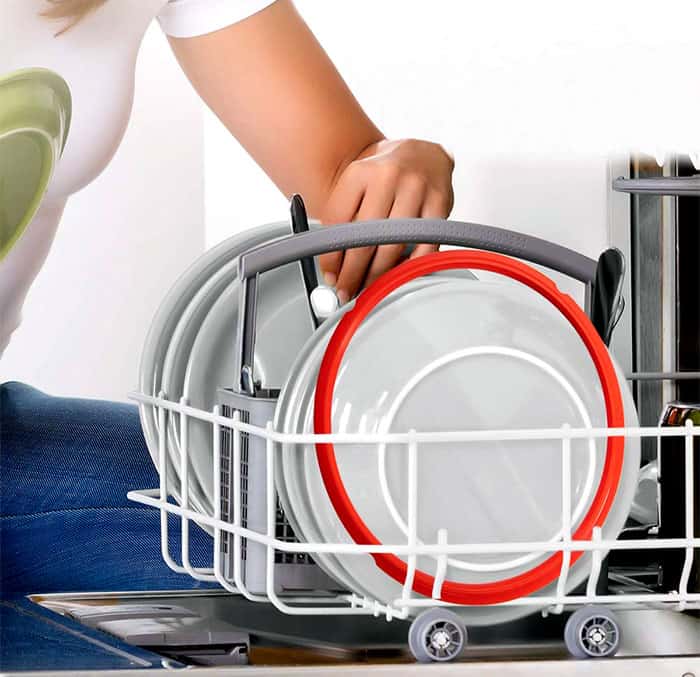
A pressure cooker has some little parts that could be faulty, and due to those parts, the pressure will not release. As a result, the cooker will not work.
If you think that the rim is causing the problem, clean the rim, gasket, and or change it if possible and needed. Use cold and clean water to wash the specks of dirt off the gasket and rim. Do not use warm or hot water as the rim could be damaged by the hot water.
Valve error
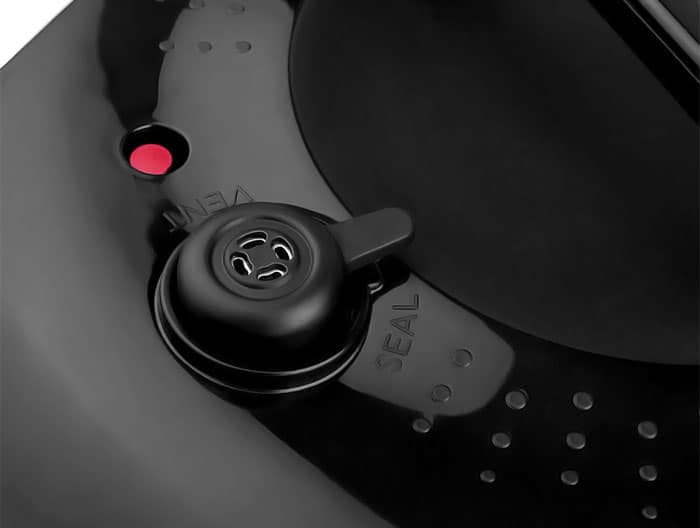
If the steam is not coming through the pressure regulator and steam is released from the sides of the lid, the valve may be damaged. Again, a possible reason here might be the relevant vent pipe is clogged and blocked by the food, oils, and dust.
If the valve does not fit on the cover, you should check the position of the valve or the size of the valve as well. Change it or repair it.
Another reason might be the valve cannot create the necessary pressure. If the valve couldn’t create pressure and the cooker stopped working, Clean the pressure valve and vent pipe with cold water and blow air.
You must check the valve regularly before putting it on the cooker.
After cleaning the valve, you must put the valve in the exact place; otherwise, it may cause an accident. To check whether there is any clogging inside the valve put it under water. If water passes through, then you have nothing to worry about.
Sealing Ring
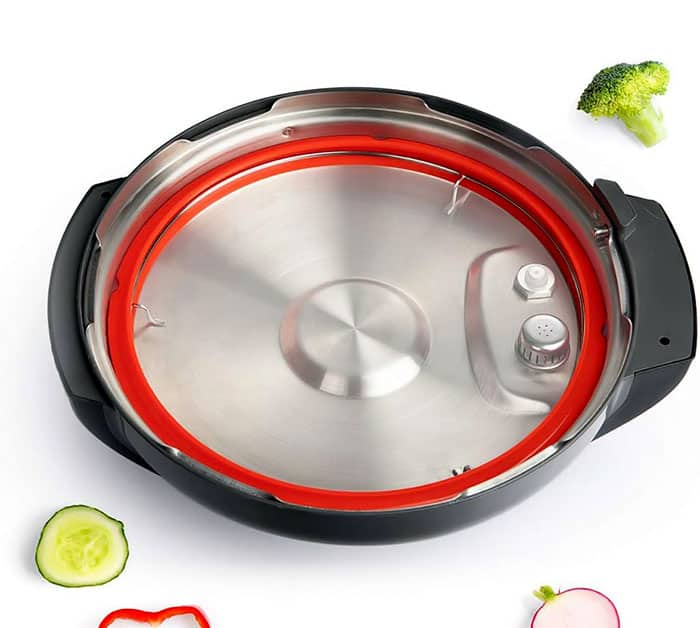
Every single part of the cooker is essential for cooking. The sealing ring helps to tighten the lid and pot together. The sealing ring is made of rubber. If it is not tightened, the vapor will be released through the side of the cover. Clean the ring.
If it has increased in size, change it immediately. Due to overuse or being old, the ring could stop working. The ring, the lid, the valve, everything should be in shape, the right size, and the right place to create pressure.
Water error
To cook, a cooker needs a certain level of water. Without reaching the needed amount of water, vapor pressure won’t be created.
So, read the manual, and check how much water you need to cook.
For example, when cooking 2 pots of rice, do not use just 1 glass of water or 10 glasses of water. Use 3 or 4 cups of water.
Again, do not fill the whole cooker with water. Leave empty space. Moreover, most importantly, you must put some water in when you are cooking. If you put the lid on without water, there is a possibility of an accident.
Food items
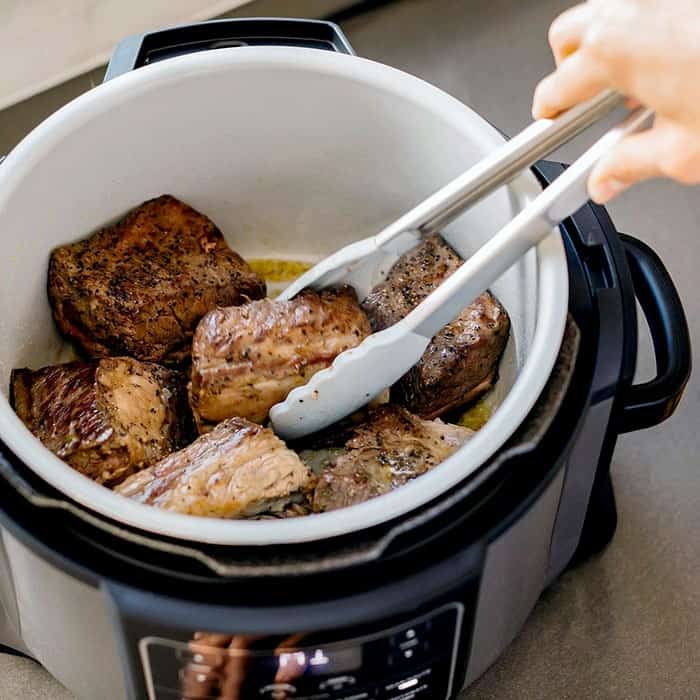
You can cook almost everything in the cooker. However, each food had to be in a specific quantity. Like in a 2-liter cooker, you can’t put 3 KG of rice in there. If something needs too much pressure to cook, use a larger amount of water. Try to avoid a few foods that may cause clogging of the valve.
Others reasons
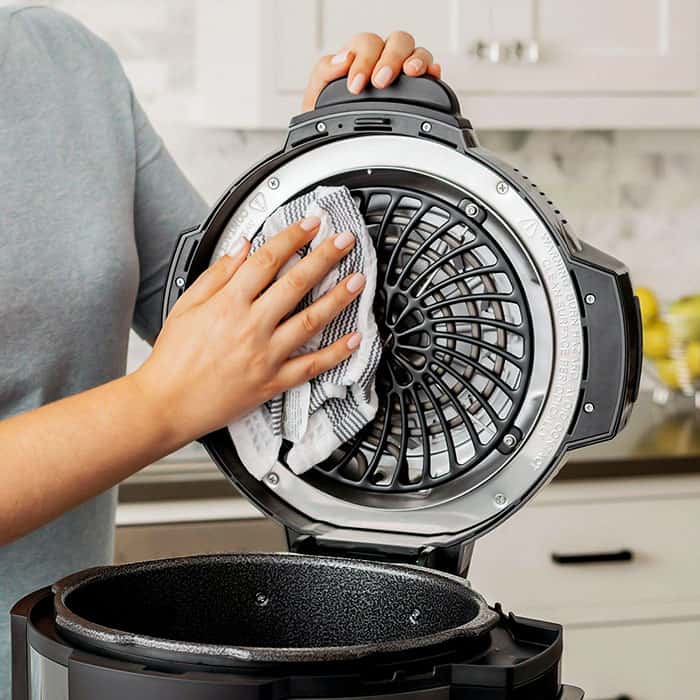
One can use the Ninja Foodi cooker for a long time without having any troubleshooting errors, or maybe a new one can show an error. Except for the errors we discussed earlier, there could be some more errors.
There are a few more tips for you to follow. Do not create any obstacles on the way to where the vapor comes out. Do not put the lid on if the cooker is fully blank.
Do not overlook it if there is any single kind of error, like not creating proper pressure.
The fuse could be damaged, the screws could be loosened, or the cooker could have expired due to over-usage.
Try to solve the problem by checking the problems properly. If it is in your range, you can solve the issue. If the screws are loosened, tighten them.
Before starting cooking, you must check everything, so you can save yourself, your kitchen, and your home from an accident.
If you have a warranty, the manufacturing company will help you replace the parts or correct the errors.
Ninja Foodies cookers are something important and helpful cooking item for your kitchen. It saves our money, electricity, and gas by cooking food under pressure.
On one side, this is giving so many facilities, but it has some small errors or bigger errors. You can solve most of the problems easily by taking proper care of your pot. You must not overlook any kind of error.
Before purchasing, you just need to check customer reviews and feedback. Most of the cooker’s users are facing the same kinds of errors.
All the mechanical errors are not that difficult to solve by taking proper steps. Ninja Foodi troubleshooting problems and easy solutions articles will find you a way out of your problems. But the final thing is in your hand.
Check your cooker, resolve if there are issues, and happy cooking.
Other related articles:


Hi I have been very pleased with my Ninja Foodie until NOW, having cooked pasta in the pot I now find I cannot release the lid, !!!Yes I have followed all instructions but my Dinner and food is wasted
I have a Ninja Foodi grill that stopped working after just two times that it worked. It lights up alright but beyond setting it to preset it turns itself off after doing nothing. Are there repairmen I can bring it to resolve the problem?
Hi, Its me again, the second time to using the Pressure cooker the LID is stuck on again, so frustrating when the rest of the dinner is ready, this may well be the last time
Having had it for 3yrs, now it’s blowing the fuse box if I put it on bake/grill/air fryer. Saute and steam steam ok.