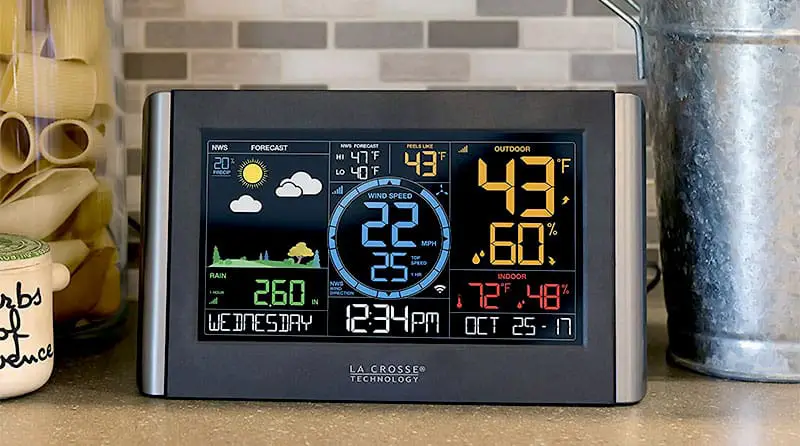
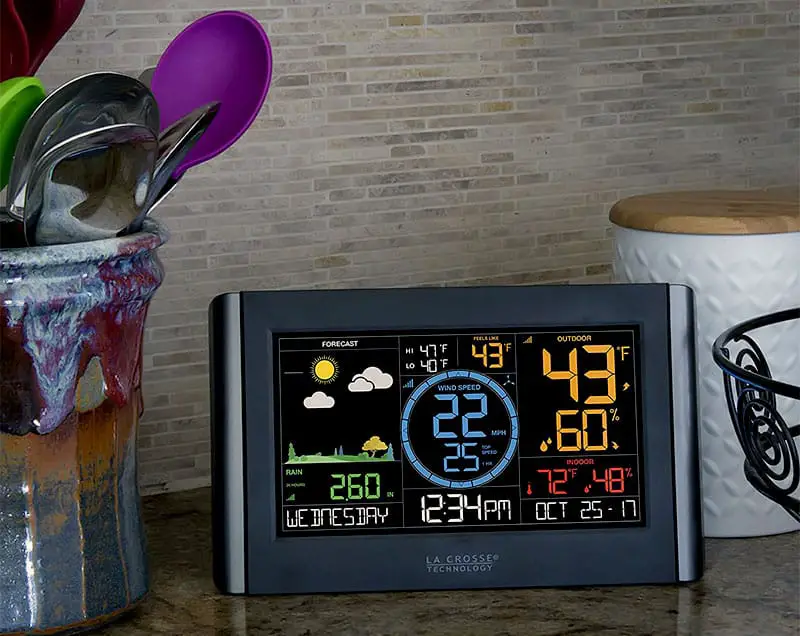
Nowadays, owning a weather station has become a very common thing in almost every household. As a weather station serves quite a lot of benefits, there is actually no reason not to get one.
There are many weather station manufacturing brands out there and La Crosse is one of those that stands out. But! But! Every modern-day man-made invention is not free of defects. So do the La Crosse weather stations.
More Troubleshooting Guide At a Glance:
That’s why in this article, we will be talking about some of the most common problems that people come across with their La Crosse weather stations and how you can fix these problems. We will also be answering some of your frequently asked questions. So, without taking any more time, let’s dive in.
La Crosse Weather Station Troubleshooting

How to Reset or Restart the Weather Station
Let’s kick off from the very basics. How do you actually restart or reset the weather station? Let’s get to know that one by one.
- First, bring out the batteries from the sensor and from the weather station.
- Then, press and release any of the buttons at least 20-25 times and after that, wait for at least 15 minutes.
- Next, insert new batteries into the sensor and in the station. After that, reconnect the power cord.
- Within 1-2 minutes, the data will show up. However, it’s highly recommended to wait for 15 minutes so that the station can establish a strong connection.
That’s it! You’re good to go.
Troubleshooting The Display Problems

The Display of the weather station may cause some issues. Some of the common symptoms of its display problems are- the display getting frozen or blank. To fix that-
- Firstly, unplug the weather station from the power cord.
- Next, bring out the batteries inside the indoor display.
- Press and release any of its buttons 20 times. Replug the power cord.
These steps should solve the problem but if they fail, call a professional.
Fixing The La Crosse View App Problems

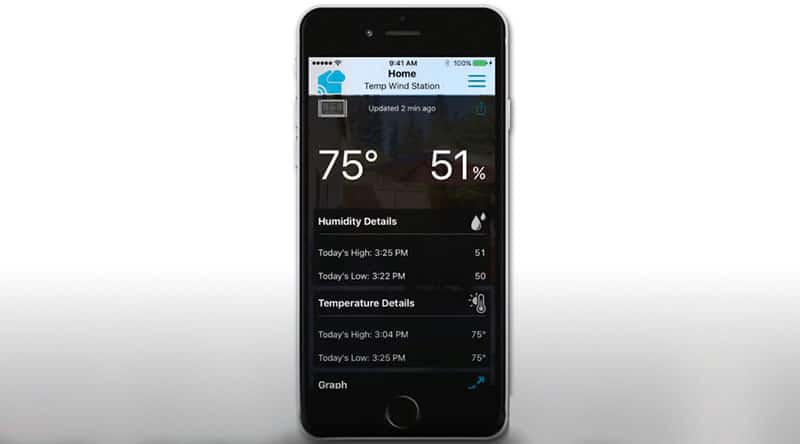
There are quite a lot of common problems that people face with the La Crosse View app. Some of the most common problems are- the screen is blank, the app is not loading or it’s not working properly, or the app is not taking updates. So, we will be talking about how to fix these three common issues.
The App Isn’t Loading or Not Functioning Properly
One of the key reasons behind it is that maybe there are some problems going on with the servers. So, wait for a bit till the main server gets fixed.
Also, if your internet connection is not stable, the app won’t load. So make sure you have a good quality stable internet connectivity.
The Indoor-Outdoor Thermometer Is Not Working
If the indoor-outdoor thermometer isn’t working properly then maybe the batteries are dead. Go with replacing the old batteries with new ones. If changing the batteries doesn’t fix the problem, there is a chance that the sensors aren’t in the right state or maybe they got damaged somehow. If that’s the case, go with a new set of sensors.
The Gateway Issue
If the gateway isn’t registered you may witness some issues regarding it. A gateway that is registered will always maintain a red LED light. However, there are a few things that you may need to keep in mind to get things right. There are lights in the gateway and you will need to know what the different kinds of blinking of the lights mean.
- There will be only 1 blink if the gateway has a stable cable connection.
- Two blinks mean it discovered the internet and was given an IP address.
- Three blinks mean it found the IP address of the server through DNS.
- Four blinks mean it’s ready to register.
- No blinking means there is no response.
However, if both the lights blink together, that means that it lost its registration. To fix that, Remove the sensor, after that remove the gateway from the app or from the website. Make sure to factory reset each of the components to re-registering it.
The “Not Seen” Alert
If the sensor of the weather station shows the “Not Seen” alert, go on with-
- Bring out the batteries from the sensor first.
- There is a gray button on the sensor, press this button 25 times.
- Inside the senor, insert new batteries.
- Now, place the sensor and the gateway and make sure that they are at least 3-5 feet away from each other.
- On the gateway, there is a gray button. Slowly press and release it.
- There is a gray button on the sensor. Slowly press and release it.
- Then again slowly press and release the gray button that is on the gateway.
- Now, on the sensor, the temperature should be shown.
- Now, keep the sensor beside the gateway and wait for 15-20 minutes in order to establish a stronger connection.
Showing Wrong Outdoor Temperature
Sometimes the sensor shows the wrong temperature. So if your sensor showing the wrong outdoor temperature or simply just showing the wrong temperature in general just follow the steps below.
- Bring the sensor indoors and place it next to the weather station for at least 2 hours.
- Now, compare the temperatures from the weather station and the sensor. If the difference is significant then it’s and major problem and you will have to call a professional. If the differences are not that significant then maybe there were some extra elements (such as direct sunlight, unventilated areas, tin rooftops, etc.) that made the outdoor sensor show wring temperature.
- To fix that, place the outdoor sensor in a well-ventilated, dry, and shaded area. It’s best to place it on a north-facing wall.
However, if the problem persists, call an expert.
How to Connect the Station to Wifi Using WPS
We are back to the basics again. Whatever! To connect the weather station to the wifi-
- First make sure that it’s already disconnected or not connected to the wifi. As an already wifi connected device can’t be connected to the network and the display will show an error.
- Activate the WPS of your router and you have to do that via a button on the router. When the activation is activated, you will have to finish the rest of the steps within 2 minutes.
- Firmly press and hold down both the Minus (-) and the Set button that you will find on the display for 5 seconds. Then you will get to hear and beep sound. Also, WPS mode will be enabled on the display. This means that the connection is established.
How to Setup the Technology Clock
This is yet another problem that people face. However, to set up the technology clock-
- First of all put 2-AA batteries inside the clock and the outdoor sensor.
- Now, set the date and time on your clock.
- After that, place the outdoor sensor in a well-ventilated shady area.
- The station will look for the atomic time signal on its own.
- Now, you will have to press and release the SET button. This action will manually WWVB atomic time signal.
- Next, hold the SET button for a while. This will lead you to the settings menu.
- After going to the settings menu, to set the value, go on with using the + or – button.
- Now press the SET button and you’re good to go.
Instructions on Setting Up the Alarm Clock
Now let’s get to see how we can set an alarm in the technological clock. However, we will also get to know how to deactivate the alarm as well.
- Hold the alarm button for a while. This will lead you to the alarm settings menu.
- Go on with using the + and – buttons to adjust the values.
- Then press the alarm button and the alarm will be set.
To deactivate the alarm-
- By pressing and releasing the alarm button you will be able to activate or deactivate the alarm.
- The alarm icon will remain if the alarm is active and it will go away if the alarm is deactivated.
The Station Lost Internet Connection
This one is a very basic issue. Just re-establish the internet connection to get rid of it.
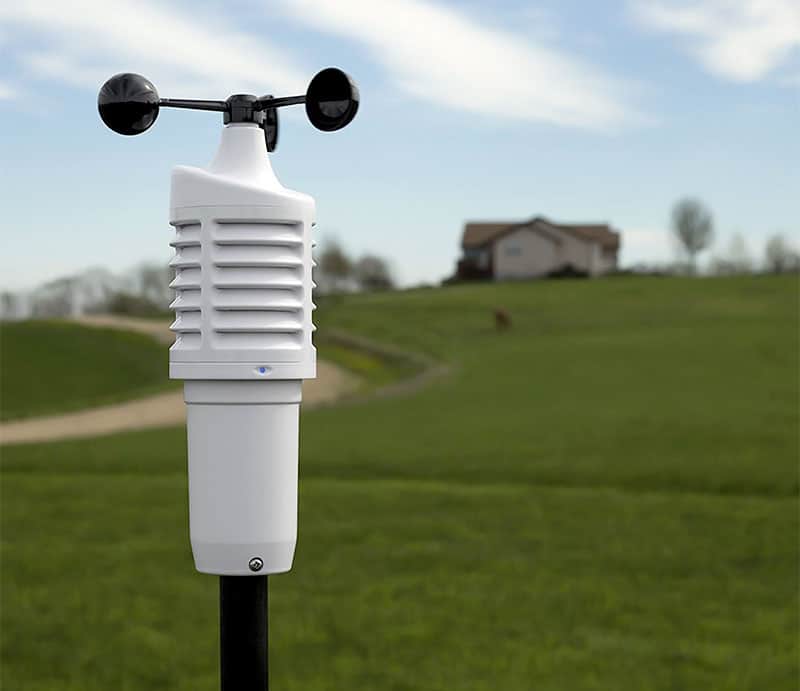
How to Mount the TX144W Wind Sensor
In order to do mount the TX144W sensor or any wind sensor in general-
- First, make sure that the data of the sensor appears on the screen of the station.
- Then keep the sensor next to the weather station for at least 15 minutes. It will establish a strong connection.
- For a better outcome, place the sensor in an open area (6 feet or higher in the air)
- Now, attach the wind sensor to the mounting pole with screws.
- Use a mounting bracket if you want to place the sensor on a flat surface.
Going With Replacement (Parts)
I know that this is not a “that kind” of a solution but if you ever come across a situation where you are completely unable to fix the problem that you are going through. Here we are talking about specific parts of the weather station. So, in case you are in a state like this, you may have to go with replacing the entire part. However, consulting with an expert is the first thing you should do before making these kinds of decisions.
FAQ
Does La Crosse Make Forecast Station?
Ans: Yes, they do make forecast stations.
Do they have an app for both Android and IOS?
Ans: Yes, they have an app called “La Crose View App” and it’s available in both Google play store and Appstore (IOS).
Do the La Crosse weather station support camera?
Ans: No, they don’t.
Does la Crosse make weather channels?
Ans: Yes, they do make weather channels.
How to reset the C82929 and C83100 La crosse weather station models?
Ans: You will the entire process of doing that at the beginning of this writeup. So, don’t forget to check that part out.
Wrap Up!
And yeah! That’s it. We are done with our take on the La Crosse weather station troubleshooting write-up. It was a toilsome research-based write-up and we hope that you will be benefitted from it.
Thank you very much for your time. We wish you the very best of luck.


